Revitalizing History: A Comprehensive Guide to Trunk Lining Replacement
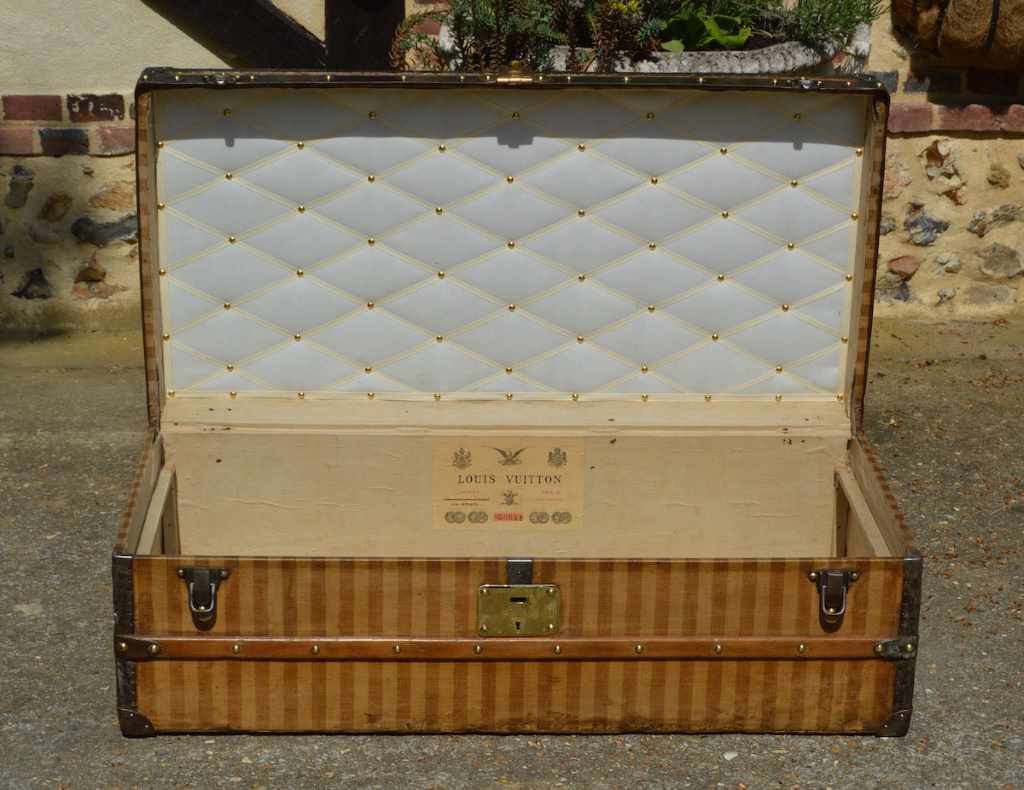
Old trunks hold stories and charm, but time often takes a toll on their interiors. If you’ve inherited a vintage trunk or found a treasure at a flea market, you may be facing worn, stained, or even damaged lining. Luckily, trunk lining replacement is a rewarding project that breathes new life into these heirlooms. This guide will walk you through the process, whether you’re a DIY enthusiast or seeking professional restoration.
Why Replace Trunk Lining?
- Preservation: A fresh lining protects the trunk’s structure and contents from further deterioration.
- Aesthetics: Replacing worn lining enhances the trunk’s appearance, making it a beautiful display piece or functional storage. Additionally, removing Citristrip residue from wood ensures a clean and polished finish.
- Customization: Choose materials and patterns to match your personal style or the trunk’s era.
- Value: A well-restored trunk holds greater value for collectors or potential resale.

Types of Trunk Lining Materials
The material you choose depends on your budget, desired look, and the trunk’s intended use.
- Paper: Vintage trunks often had original paper lining. While charming, it’s delicate and prone to damage. Reproduction paper is available for purists.
- Fabric: A popular choice due to its variety of colors, patterns, and textures. Consider cotton, linen, or upholstery-grade fabrics for durability.
- Cedar: Prized for its aromatic and insect-repelling properties, cedar lining is perfect for storing clothing or textiles.
- Leather: Luxurious and elegant, leather adds sophistication to a trunk but is more expensive and requires specialized care.
Tools and Supplies You’ll Need
- Measuring Tape: Accurate measurements are crucial for cutting new lining to fit.
- Scissors or Rotary Cutter: Choose the tool you’re most comfortable with for precise cutting.
- Fabric Marking Pen or Chalk: For transferring patterns and guidelines onto your chosen material.
- Straight Pins: Secure lining pieces in place before permanently attaching them.
- Adhesive: Depending on your lining material, you might use fabric glue, spray adhesive, or hot glue.
- Hammer and Tacks: Useful for attaching lining to wooden trunks.
Step-by-Step Replacement Process
- Assessment: Carefully examine the trunk’s interior. Note any damaged areas, loose tacks, or hardware that needs removal.
- Removal of Old Lining: Gently peel away the old lining, being careful not to damage the underlying wood or cardboard.
- Cleaning: Thoroughly clean the interior with a soft brush and mild detergent. Allow to dry completely.
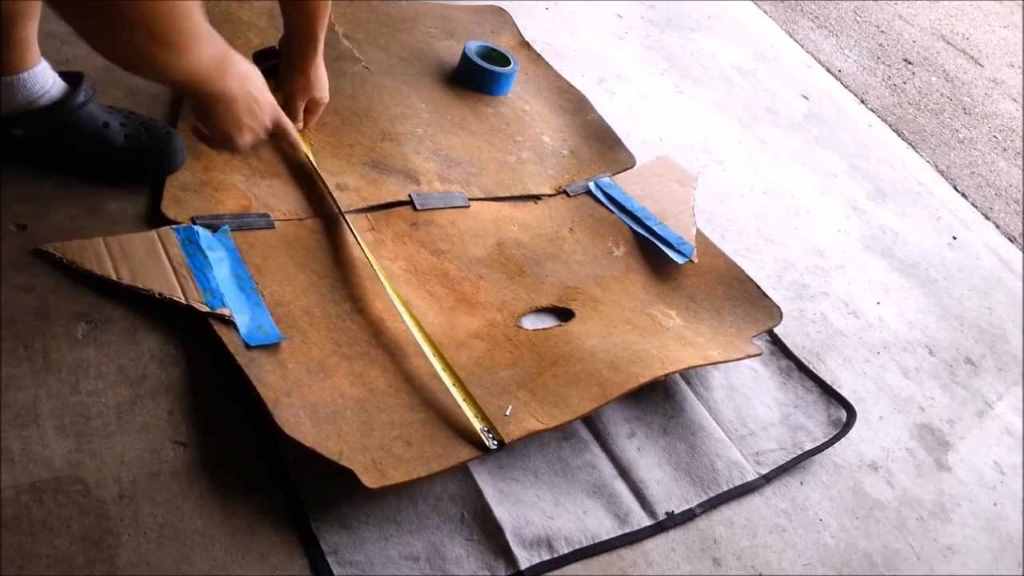
- Measuring and Cutting: Measure each section of the trunk’s interior (bottom, sides, lid) and cut your new lining accordingly, leaving a slight overlap for attachment.
- Attaching the Lining: Start with the bottom, then sides, and finally the lid. Use adhesive or tacks, depending on the material and your preference. Smooth out any wrinkles or air bubbles as you go.
- Trim Excess: Carefully trim any overlapping lining for a neat finish.
- Reinstall Hardware: Replace any hardware that was removed earlier (hinges, locks, handles).
Tips for Success
- Pattern Matching: If using patterned fabric, take time to align the pattern for a professional look.
- Reinforce Corners: Add extra adhesive or stitching to corners to prevent them from fraying.
- Ironing: Pre-iron your lining material to eliminate wrinkles before attaching it.
- Ventilation: If using strong adhesives, work in a well-ventilated area.
Professional Restoration
For complex repairs, valuable trunks, or if you lack the time or skills, consider hiring a professional trunk restoration specialist. They have expertise in handling delicate materials, matching historic patterns, and ensuring a high-quality result.
Conclusion
Trunk lining replacement is a satisfying way to preserve history and showcase your creativity. Whether you’re a seasoned DIYer or a first-time restorer, the end result will be a revitalized heirloom you can cherish for years to come.


