
You’ve just realized your old climbing rope has seen better days. Maybe it’s frayed near the ends, or perhaps it’s been dropped on sharp granite one too many times. The thought of buying a new one hits your wallet hard. You search for affordable, safe climbing rope options, but you’re flooded with either suspiciously cheap deals or gear that costs more than your monthly car payment. The dilemma is real: you need a rope that won’t break the bank, but you absolutely cannot compromise on safety. Here’s the good news: you don’t have to choose between your life and your budget. This guide breaks down exactly how to evaluate, compare, and purchase a budget-friendly climbing rope that meets UIAA safety standards and performs reliably on the crag.
What Really Makes a Climbing Rope “Affordable” vs. Just Cheap?
An affordable climbing rope offers the best value for your specific climbing style without sacrificing certified safety ratings. A cheap rope often skimps on durability, uses lower-quality sheath material, or lacks essential certifications. Understanding this distinction is your first line of defense against making a dangerous purchase.
Defining “Affordable” in the Climbing Gear Market
In practical terms, an affordable rope typically falls into the $100–$180 price range for a 60-meter, single rope. This is roughly 30-50% less than premium flagships. However, price is only one component of value. An affordable rope should still feature a UIAA certification, a sheath percentage of at least 30-35%, and a diameter that matches your intended use (e.g., 9.4mm to 10.2mm for all-around trad or sport climbing).
The Hidden Costs of “Too Good to Be True” Ropes
If a rope is priced at $50, ask yourself why. Often, these ropes have lower twist densities, causing them to kink excessively. They may also have a thicker diameter (10.5mm+) that makes belaying cumbersome and doesn’t feed smoothly through belay devices. More critically, they might lack proper impact force ratings, which increases the risk of severe injury during a fall.
Key Performance Indicators That Validate Affordability
- UIAA Certification: Non-negotiable. If it lacks this, do not buy it.
- Impact Force: Look for a rating below 9 kN for a single rope to minimize stress on your body and gear.
- Sheath Slippage: Good affordable ropes have less than 0.5% slippage, ensuring the core doesn’t separate from the outer layer.
- Water Resistance: While not mandatory, a dry treatment adds longevity and is worth a small premium.
Why Does Rope Diameter Matter More Than Price for Safety?
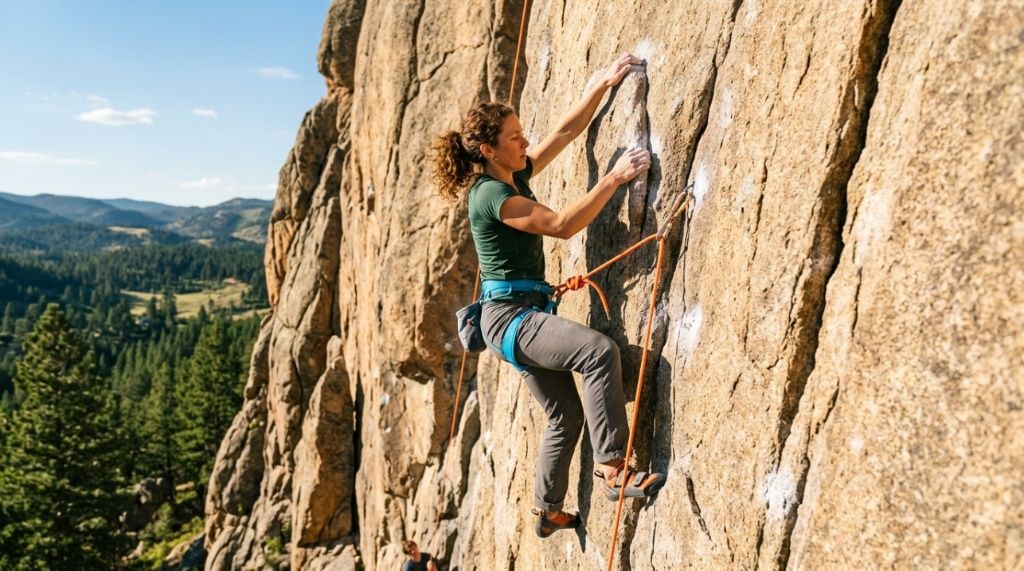
The diameter of your rope directly influences handling, durability, and compatibility with your belay device. Choosing the right diameter is a critical safety decision that affects how easily you can control a fall and how well the rope withstands abrasion on rough rock.
Understanding Rope Diameter Ranges
Single ropes range from 8.7mm (high-end, lightweight) to 10.5mm (durable, heavy). For most climbers, a 9.4mm to 9.8mm rope offers the best balance of weight, durability, and handling. Thinner ropes are lighter and better for multi-pitch, but they wear out faster. Thicker ropes are more robust but heavier and harder to clip quickly.
Matching Diameter to Your Climbing Discipline
If you primarily sport climb at a gym or single-pitch crags, a 9.8mm rope is a workhorse. If you’re an alpinist or trad climber who values a light pack, a 9.2mm rope might be worth the extra cost, but it will not last as long. For beginners, a thicker 10mm rope is forgiving, easier to handle, and often the cheapest due to simpler manufacturing processes.
Handling Test: You Can’t Feel It Online
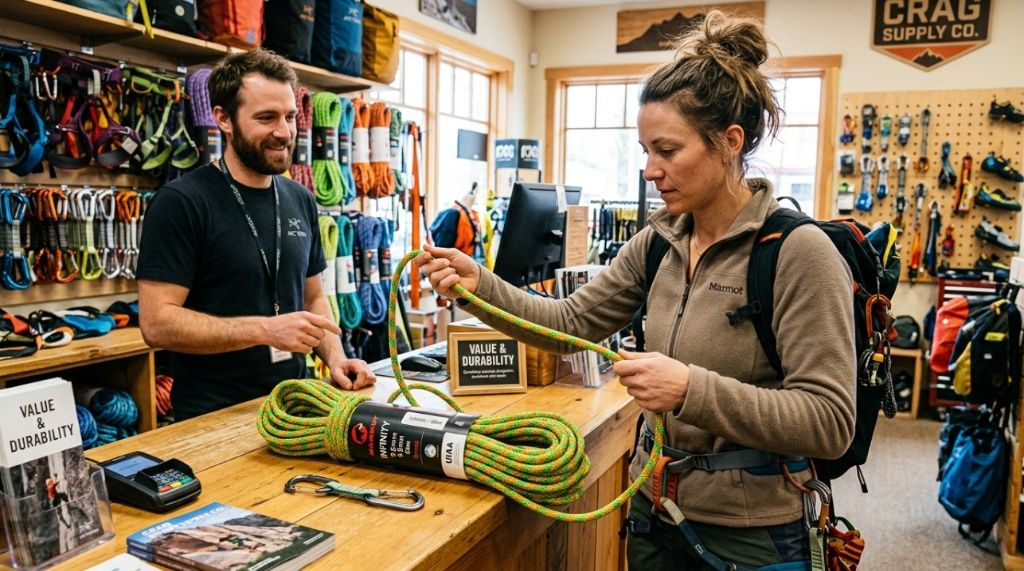
Before you buy, visit a local gear shop to feel the rope. Pull it through your hands, tie a figure-eight, and test how it feeds through a belay device. A rope that is stiff or slippery in your hands is dangerous, regardless of the price tag. If you can’t test it in person, read multiple user reviews focusing on “hand feel” and “kink resistance.”
Which Safety Certifications Should You Never Ignore on a Budget Rope?
Always look for UIAA (International Climbing and Mountaineering Federation) and CE (Conformité Européenne) marks. These certifications are your guarantee that the rope has passed rigorous drop tests and meets minimum safety standards. Ignoring this to save $20 is a decision that could have fatal consequences.
The UIAA 101 Standard Explained
To earn UIAA certification, a rope must survive a series of controlled falls with a specific mass and edge radius. It must also limit impact force to below 12 kN (though 9 kN or less is preferred) and show no more than 40% elongation under static load. These tests simulate real-world use accurately, providing a baseline for what the rope can handle during a leader fall.
Why CE Marking Alone Isn’t Enough
While CE marking is required for sale in Europe, it’s a broader industrial standard. The UIAA standard is more stringent for climbing-specific hazards. A rope with both marks has undergone more rigorous and relevant testing. When you see “UIAA” on a budget rope, you know the manufacturer didn’t cut corners on safety.
Reading the Label Like a Pro
Flip the rope end label. It should state “single,” “half,” or “twin” rope. For general climbing, choose “Single.” Also check the “number of falls” rating. A rope that survived 8-10 UIAA test falls is generally more durable than one that only manages 5-6, even if the price is slightly higher.
How to Determine the Correct Rope Length for Your Budget and Needs
For most climbers, a 60-meter rope is the standard choice, offering enough length for the majority of sport and trad routes. However, a 70-meter rope adds versatility for longer routes or rappelling, but it also costs more. Your choice should balance cost against the types of climbs you realistically do.
The 60-Meter Standard: Most Common and Cheapest
A 60-meter rope is the best starting point for beginners. It covers nearly all single-pitch sport routes and is the most economical option. If you’re climbing indoors or at smaller crags, a 60-meter rope is usually the most affordable safety rope climbing solution because it uses less material and is produced in higher volumes, driving the cost down.
When to Invest in a 70-Meter Rope
If you live near areas with long routes (e.g., multi-pitch or classic 30-35 meter pitches with hanging belays), a 70-meter rope provides peace of mind. It allows for easier rappels and extends your options. However, the extra 10 meters typically adds $20-$30 to the price and adds about 0.5 kg to your pack weight.
Cost-Per-Use: The Real Budget Metric
Calculate the cost per use. If you climb once a week, a $150 rope that lasts two years costs about $1.44 per climb. A $100 rope that wears out in six months costs $4.17 per climb. In the long run, spending slightly more on a durable rope is often the more affordable option.
Can You Buy a Safe Rope Under $100? The Truth About Rock-Bottom Prices
Yes, you can find ropes under $100, but you must be extremely selective. Typically, these are 9.8mm or 10mm ropes from reputable brands during sales, or they are no-frills models that sacrifice some handling features. It’s a viable option, but you need to do your homework.
What You Usually Give Up in a Sub-$100 Rope
Ropes in this category often lack a dry treatment. This means they absorb water, becoming heavy and susceptible to freezing in cold weather. They may also have a looser weave, leading to faster wear on rough rock. However, for gym climbing or dry crags, these ropes are perfectly safe.
Finding Deals on Higher-End Ropes
Look for last season’s colors or models. Retailers discount these heavily to clear inventory. You can often snag a premium 9.6mm rope for under $120. Also, consider buying during major sales events (Black Friday, REI Anniversary Sale) where significant discounts are applied to already budget-friendly lines.
Red Flags That Signal a Dangerous Deal
| Red Flag | Why It’s Dangerous |
|---|---|
| No UIAA label | No verified safety testing. |
| Sold without packaging | It could be a factory second or damaged. |
| Extremely low price (<$70) | Likely used or counterfeit. |
When Should You Replace a Budget Rope? (Timeline vs. Use)
Even the cheapest UIAA-certified rope is safe if you replace it at the right time. The rule of thumb is to retire a rope after 5-10 years from first use, regardless of appearance, or sooner if you take significant falls or expose it to chemical/UV damage. Budget ropes may need replacing more frequently due to softer/worn materials.
The “Soft-Spot” Test
Run your hand along the entire length of the rope. If you feel any flat, mushy, or extremely thin sections, the core is likely damaged. This is a mandatory retirement signal. Also, check for “fuzziness” that exposes the core; this is a sign of severe sheath wear.
Logging Your Falls
Climbing historians suggest that a few big falls (with a high fall factor) shorten a rope’s lifespan drastically. If you take a whipper that generates high forces (e.g., falling 5+ meters above a bolt), inspect the rope immediately. If you’re unsure, replace it. The cost of a new rope is far less than an emergency room visit.
Storage and Care Extend Affordability
Keep your rope in a clean, dry rope bag away from sunlight and chemicals. Avoid stepping on it, as dirt grinds into the sheath. Proper care can extend a rope’s life by 20-30%, making even a budget rope a long-term investment. Wash it with cold water and mild soap when it gets gritty.
How to Compare Sheath Quality Without Being a Textile Expert
Sheath quality is the primary determinant of how long a rope resists abrasion. A high-quality sheath is tight, smooth, and has a high percentage of the total rope weight. Learn to spot a good sheath by looking at the weave pattern and feeling its density.
The “Pinch and Roll” Test
Pinch the rope between your thumb and forefinger and roll it back and forth. If you can easily move the sheath over the core, it’s loose. This is bad. A good sheath is integrated tightly with the core, indicating better manufacturing quality and lower slippage risk.
Sheath Percentage: A Number You Should Know
Look for ropes with a sheath percentage between 32% and 38%. For example, a 9.8 mm rope with a sheath percentage of 35% is more durable than a 10.2 mm rope with only 30% sheath. A higher sheath percentage means more material on the outside where you need it for abrasion resistance. Before heading outdoors, always review essential climbing rope safety before use guidelines to protect your investment.
Patterns That Resist Snagging
Some ropes feature a “zigzag” or “herringbone” weave. These patterns help prevent the sheath from slipping from the core. When viewing the rope, check if the weave looks tight and consistent. Loose, uneven weaves often indicate poor construction and a shorter lifespan.
Is a Dry-Treated Rope Worth the Extra Money for General Climbing?
For most recreational climbers, a dry-treated rope is a “nice-to-have,” not a necessity. If you primarily climb on dry, sunny days, you can skip this feature and save money. However, if you climb in damp climates, near snow, or do any ice climbing, the investment in dry treatment is justified for safety (it prevents the rope from freezing and getting heavy).
The Cost Difference: Dry vs. Non-Dry
Dry treatment adds roughly $30-$50 to the retail price. If you’re strictly an indoor or desert crag climber, that money could be better spent on a higher-quality sheath or a longer rope. For the budget-conscious, skipping dry treatment is a logical way to stay within budget without sacrificing core safety features.
Functional Benefits Beyond Moisture Resistance
Dry-treated ropes also resist dirt and grit better, which means they slide through belay devices smoother and last longer. But this benefit is only noticeable if you climb in dusty environments. In a clean gym, the difference is negligible, meaning you can safely opt for the cheaper version.
When “Non-Dry” Becomes Unsafe
If a rope gets wet, it can lose up to 50% of its strength. If you’re planning a multi-day climb where rain is possible, do not bring a non-dry rope. It’s not just about comfort; it’s about survival. In these situations, pay the extra cost for dry treatment or postpone your climb.
Step-by-Step Process to Test an Affordable Rope Before You Buy
You can perform simple field tests on a brand-new rope to ensure it’s not a lemon. This takes 10 minutes and can save you from discovering a problem on the wall. Here’s a reliable process for evaluating your purchase.
Step 1: Visual Inspection
Uncoil the rope and lay it flat on a clean surface. Look for any cuts, flat spots, or irregularities in the weave. A new rope should be perfectly round and uniformly textured. If you see any damage out of the package, return it immediately.
Step 2: The Bend Test
Bend the rope sharply at a 90-degree angle. Does it kink and stay bent, or does it spring back? A high-quality rope should have excellent flexibility. A rope that kinks severely will be difficult to handle and may indicate poor manufacturing.
Step 3: Belay Device Feed
Thread the rope through your harness and a tube-style belay device. Pay attention to how easily it feeds and locks off. If the rope is stiff or jams in the device, it will cause belay errors. It should glide smoothly with minimal effort.
Where to Buy Affordable Ropes: Online vs. Local Shops
Each buying channel has distinct advantages. Online retailers often have lower prices and larger inventories, while local shops offer the crucial advantage of physical inspection. Knowing what you want is key to deciding where to make your purchase.
The Case for Buying Online
Websites like Backcountry, Moosejaw, and even Amazon often have sales on brand-name ropes. You can filter by diameter, length, and price. Always read recent reviews and verify the seller is authorized to sell climbing gear. Beware of third-party sellers that might sell counterfeits.
The Value of Your Local Gear Shop
Your local shop can teach you how to tie proper knots on the floor and let you feel the rope. They often have clearance sections with last year’s models at excellent prices. Plus, you support a community resource. The staff’s expertise is invaluable for a beginner.
Watching for Overstock and Closeouts
Brands like Mammut, Petzl, and Beal update their product lines frequently. Look for “last season” colors; they are functionally identical but discounted. Signing up for email alerts from gear retailers will keep you informed about flash sales where you can save 20-30% on top-tier ropes.
Frequently Asked Questions
Can I use a used rope to save money?
We strongly advise against buying a used climbing rope. You do not know its history, fall count, or exposure to chemicals or UV radiation. The risk is not worth the savings. Stick to new, certified ropes.
What is the best affordable rope for a beginner?
A 9.8 mm x 60 m rope from a reputable brand like Beal, Mammut, or Edelrid is an excellent start. Look for a UIAA certification and a standard sheath. It is forgiving, durable, and widely available at moderate prices.
How long does a cheap rope last if used monthly?
With proper care and moderate use (once a month), a budget rope can last 2-3 years. However, you must inspect it before every climb and retire it at the first sign of core damage or severe sheath wear.
Are 10mm ropes safer than 9.4mm ropes?
Both are safe if UIAA-certified. Thicker ropes are more durable and easier to handle but heavier. Thinner ropes are lighter and more agile but require more careful use and a compatible belay device.
Does rope color affect price?
Yes. Seasonal or bright colors might be more expensive due to dye costs. Choosing standard colors (black, blue, red) can often save you $10-$20 without any performance loss.
Conclusion
Choosing the right affordable safety ropes for climbing doesn’t have to be a gamble. By focusing on UIAA certification, understanding the impact of diameter and sheath quality, and knowing when to retire a rope, you can find a budget-friendly option that keeps you safe without emptying your savings. Start by evaluating your specific climbing style, set a realistic budget, and test the rope’s feel before committing. Remember, the most expensive rope isn’t always the best for your needs. Your safe and smart approach is to buy the best within your budget that meets your use case. Now, go ahead, check the certifications, compare a few options, and get back to doing what you love with confidence.